Showing posts with label birthday. Show all posts

Saturday, September 8, 2018

Pop Up Box Golf Birthday Card

Hello Crafty Friends,

Today I'm sharing with you a birthday card I made for a 
friend who loves to golf.   

I wanted the golf cart to be more detailed than the golf cart that came with the card file so I used another golf cart file and modified the card to incorporate the more detailed golf cart.    I also added grass and extra clouds to the card. 

  I just love how this card turned out with my added elements. 

Here is the front of the card closed. 


This is the card laid flat. 


Here is the card open so you can see the dimension.


A view from the top view so you can see the tee and hole with the flag. 


I even decorated the back of the card to hide what I wrote so my friend could put this on his desk and others wouldn't see the silly message i put inside. 


Here's the silly message I put inside.  I found this saying on the internet and knew it was perfect for this card.  


Here's a print shot from my Silhouette Studio Designer program.

The top, is the the piece with the golf cart from the original file... to the right is a print shot of what the finished card looks like in the Silhouette Store.    

I used the rectangle Drawing Tool in the Silhouette Studio Designer software to crop the cart away from the long piece that has the score lines.  After I did that I copied the background piece of the detailed golf cart and welded it to the piece with the scored lines after I cropped the original cart away from it. 


Card Recipe:
  • Card from the Silhouette Store - Pop Up Box Card Golf by Lori Whitlock - Design #148379 - MODIFIED!!!!!!
    • Cut the piece for the golf tee and the golf hole in green to make it look like a faraway.    
    • Only cut the golf ball in a solid white and then embossed it with my swiss dot embossing folder.  
  • Detailed Golf Cart from Silhouette Store - Golf Cart by Lisa Norris - Design #197134
  • Grass from the Silhouette Store - Grass by Silhouette - Design #1075
    • Modified -- Stretched and narrowed -- 0.639 high x 5.667 long
  • Extra clouds from a file I had in my Silhouette library.   Not sure where they came from since the properties does give me any info on them. 
    • Used dimensional squares to pop up clouds
Hope you like the finished modified pop up golf card that I created and inspired you to not be afraid to combine files.

Have a beautiful day.

Happy Crafting!

TTFN,
Debby 


Sunday, August 5, 2018

Drone Birthday Card

Hello Crafters,

In this post I'm sharing a birthday card I made for my nephew who's into flying drones.   Whenever I can I try to personalize my cards by incorporating something that person is into or likes. 

Since I could find a drone image in the Silhouette Design Store or any other companies I purchase SVG files from or stamps from so I searched Google Images and found a couple that looked like they would be easy to trace using the tracing feature in the Silhouette Studio Design software.  After I got it traced and cropped to my satisfaction I printed it out on my printer using the registration marks and then cut it out on my Silhouette Cameo.  

Of course the drone had to look like it was flying to the air so I broke out my Tim Holtz Distress Oxide inks to make the background night sky and of course my night sky need a city skyline so I turned to the Tim Holtz Cityscapes stamps that I recently bought.   I used black square pop dots from my stash stacked 3 high to make the drone pop off the card.  The sentiment is also pupped up with black square pop dots but I only used one.   

In person, the drone looks like it's flying towards you carrying the birthday sentiment from the city. 

Bonus was when I gave this card to my nephew he said that this was the first drone he ever purchased.  Totally amazing since I didn't know that and of all the drone images I searched through I happened to pick the one that was his very first drone.   


Card Recipe:
Thanks for stopping by.  
I hope my card inspired you to use multiple different craft elements into your projects.

Happy Crafting!
TTFN,
Debby 


Thursday, April 19, 2018

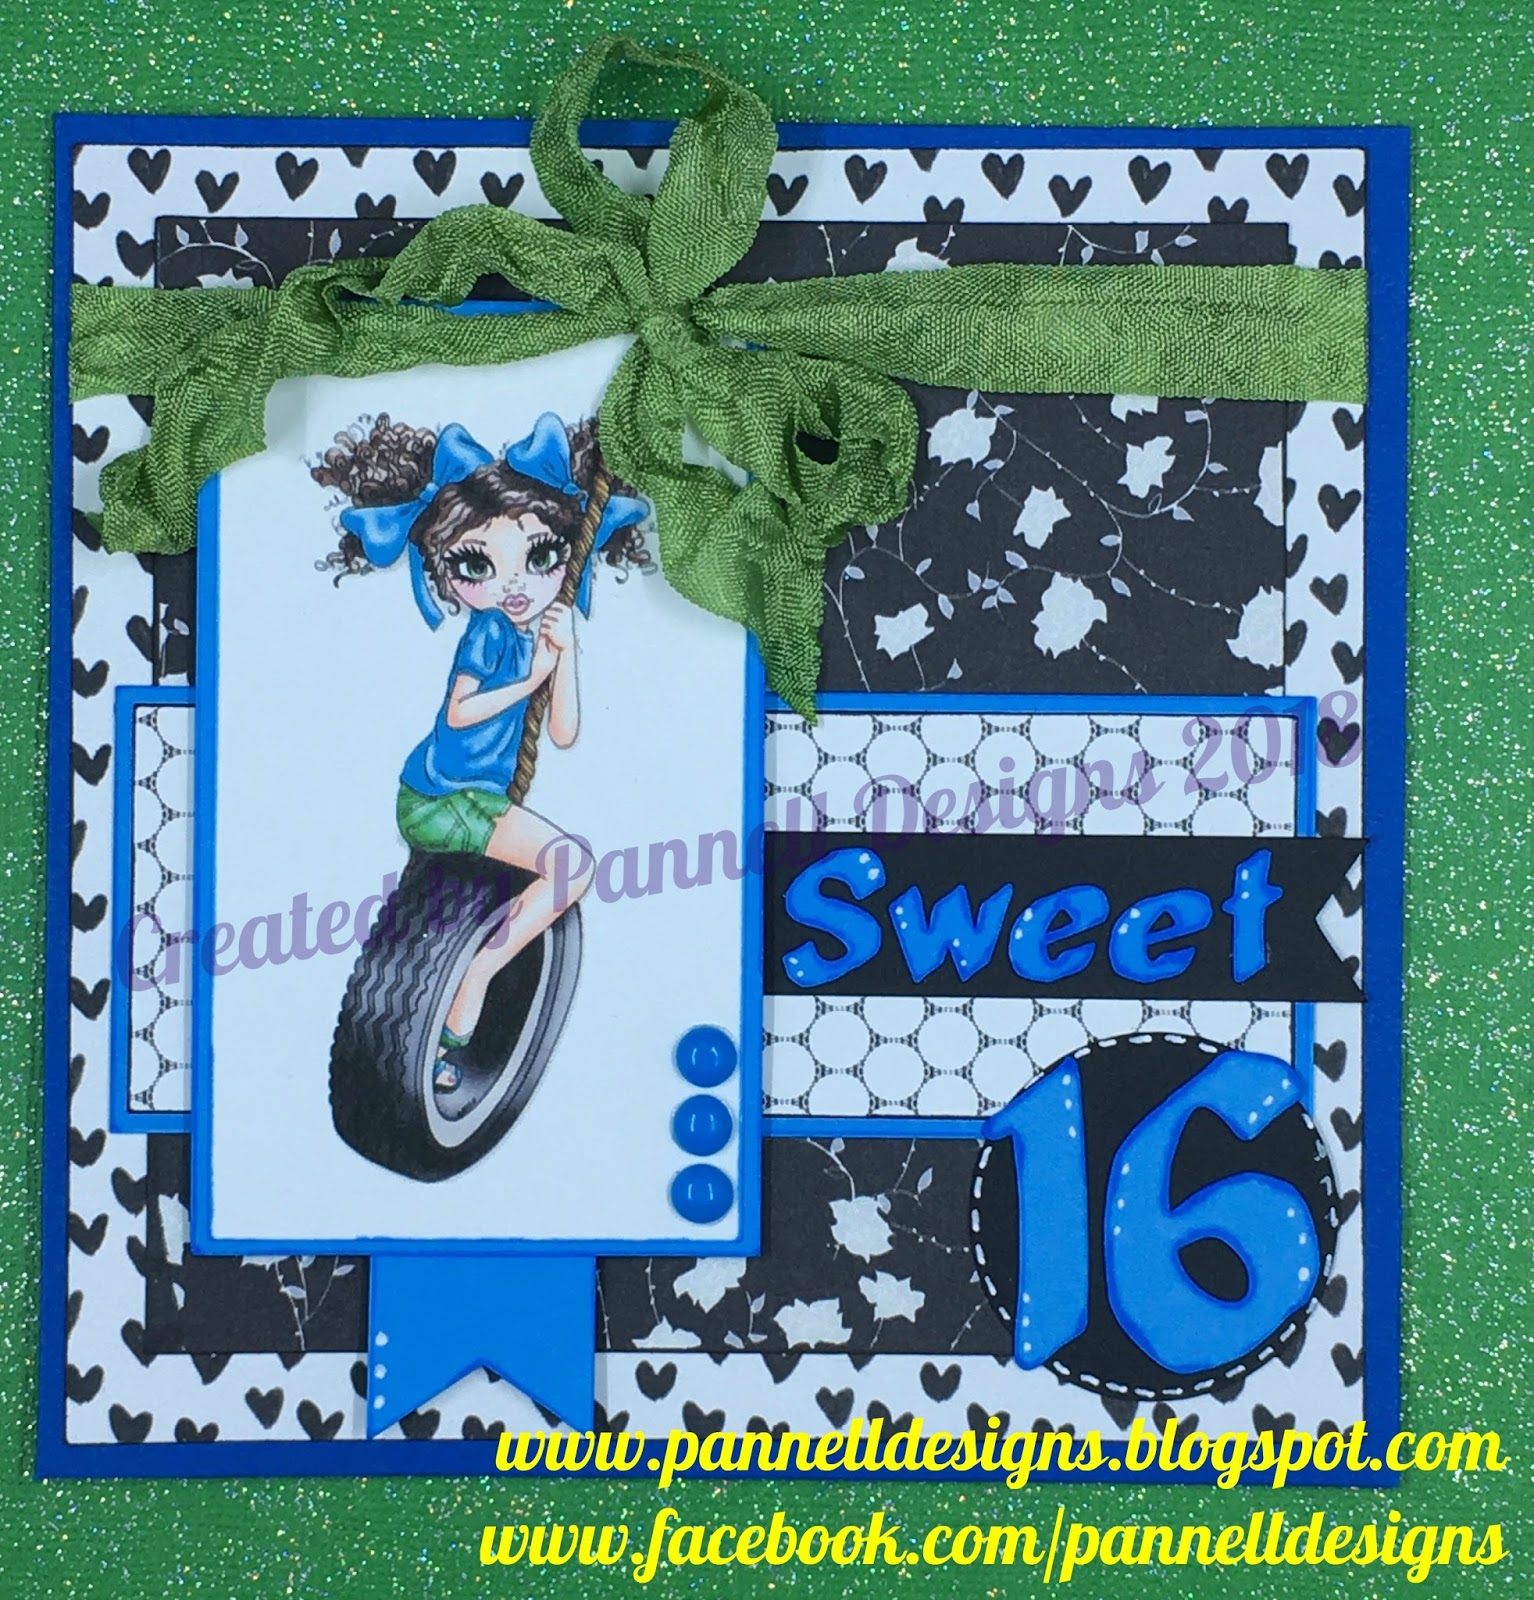
Sweet 16 Birthday Card

Hello Crafty Friends,

Sharing with you a card I made for my goddaughter's 16th birthday.

I found the image online and had to use it because it looks just like her.   
I tried to find a link to the person who colored it and posted it but I couldn't so I apologize for that but wanted to thank them for sharing it online.  

I tied the ribbon to make it look as if the tire swing was attached to a tree. 


Card Recipe:
  • Card Base is 5-1/2" x 5-1/2"
  • Flower Pattern Paper is from Prettygrafik Black Tie Papers
  • Circle Pattern Paper is from Digital Pink Ink that I purchased from the Silhouette Store - Design #30266
  • Heart Pattern Paper is from the Silhouette Store - Design #75040
  • Ribbon from 3 Girl Jam
  • Letters cut with Silhouette Cameo using the 'Middle Management' font
  • White accents made with white Gelly Roll pen
  • Blue dots were made from pony beads 
Thanks for stopping by.

Happy Crafting!
TTFN,
Debby 


Wednesday, April 4, 2018

Cookie Monster Birthday Card

Hello Crafty Friends,

On this post I'm sharing a couple of Cookie Monster birthday cards I made.

The sketch is from SVG Cutting Files and the Cookie Monster on the first card is from I file I got for free a long time ago from a SVG Cutting File blog hop.  


Of course I had to put the Cookie Monster head on an action wobble. 


This second card has all the same elements of the card above except for the Cookie Monster which is from PPBN and it is not on an action wobble.  


Card Recipe:
  • A2 Card Base
  • Card Sketch is from SVG Cutting Files - Card Sketch 53
    • Used Cookies in place of the circles.

  • Digital pattern papers from Miss Kate Cuttables - Happy Birthday Collection
  • Cookie Monster Head is from a SVG Cutting Files blog hop that I got for free for hopping along.  It was an exclusive file for the hop so it is not available for sale on their website.
  • Action wobble
  • Full body Cookie Monster from PPBN.   They've changed their name and I don't know what it is.  
  • Sentiment from Scrappy Mom Stamps Monster Mania Stamp Set

Thanks for stopping by and hope I have given you some inspirational ideas.

Happy Crafting!
TTFN,
Debby 


Wednesday, March 28, 2018

Sushi 21st Birthday Card

Happy Wednesday Crafters,

Today I'm sharing with you a birthday card I made for my sons friend who is like a daughter to me.   She loves sushi so I thought I would use the KaDoodle Bug Designs I Love Sushi & You're Soy Amazing files.  

Here is the finished card.

For the faces on the various sushi items I used faces from the Peachy Keen PK-1370 Kawaii Face Assortment.  

Here's a picture of one of the sushi items in my MISTI. 


Here are some close ups of all the sushi items.   I just love how the Peachy Keen faces make them extra cute. 


 Card Recipe:


Thanks for stopping by.
Wishing you an amazing day.
Happy Crafting!
TTFN,
Debby 


Sunday, March 18, 2018

Koalafied to Party Birthday Card

Hello Crafters,

Sharing a card I made using the KaDoodle Bug Designs Cutie KaToodles Koala bear, sentiment from Jaded Blossom and other items from my craft stash.

I alway felt that a koala's ears were a little bit bigger on it's head than other bears so I had to enlarge the ears on this Koala file a wee bit to make them fit with how I think a Koala's ears should be.     I also think that koala's need to be fuzzy so I decided to use gray and cream flocking powder on the pieces I cut out using my Silhouette Cameo machine.   

If you never used or heard of flocking powder before, the best way I can describe it is if you took felt and ground it up into a fine powder you would get something similar to flocking powder.   In order for the flocking powder to stick to my paper pieces I ran them through my Xyron to get adhesive on one side.   NOTE: be sure to turn your pieces upside down before running them through the Xyron because the side faced down is the side that gets the adhesive.   After I ran all the pieces through my Xyron 250 Sticker Maker I started to add the flocking powder.    Below are some pictures showing you the process I use when adding flocking powder to my paper pieces.

From top to bottom of this pic you can see my koala paper pieces on the Xyron strip after I put them through the 250 Sticker Machine.  Next you see the bottle of Martha Stewart Flocking Powder and then the flocking powder I poured onto a coffee filter and added one of my paper pieces to the pile of flocking powder. 

Here's an paper piece showing the adhesive from the Xyron before I added the flocking powder.  


Here it is slightly buried by the flocking powder.  

Here it is fully buried by the flocking powder.  


After I get it covered in flocking powder I rub it into the adhesive
and then tap it to get the loose flocking powder off the piece. 


Here it is after I have worked the flocking powder into the adhesive.


Here is a close up of my finished koala bear.  I just love him. 


And finally my finished card.   

took the branch he's holding and increased their size in my Silhouette Design Studio software to make them into trees.   I ran the branches/trunks through a woodgrain embossing folder after i inked it with Tim Holtz Walnut Stain Distress Ink.   Used my eBrush and copic markers to add details to the leaves. 


Card Recipe:

  • KaDoodle Bug Designs Cutie KaToodles Koala
    • I used a technique I learned from the Kit and Clowder's Coloring Eyes tutorial to accent the brown part of his eyes.  
      • Click here to go to Kit and Clowder.   If you sign up to take their tutorials I would greatly appreciate it if you would let them know you heard about them from me. 
    • Martha Stewart Gray flocking powder and cream flocking powder I bought in the dollar bin at Michael's years ago that I had in my craft stash.
    • Darice Woodgrain embossing folder
      • Tim Holtz Distress Ink - Walnut Stain
      • Copic Marker E79-Cashew to edge the sticks.
    • Copic Marker G09-Veronese to add lines to leaves.
    • Nuvo Crystal Drops ~ Ebony Black on his nose.
    • Eyelashes are fake eyelashes from the Dollar Tree that I cut in half and added to the back of his eyes. 
  • Background paper is from a 6"x6" paper pack I bought from Michael's called Tropical Life.   Thoughts the lines would make cool clouds or give it some dimension when I used Tim Holtz Distress Oxide inks to make it look like a dusk sky.  
  • The paper I used for my grass is from my stash and I used Lawn Fawn Meadow Borders to cut them out. 
  • Ribbon on the side is from a company that is no longer aground called 3 Girl Jams. This green was from their Spooky Bundle and they called it goblin green.  I love their ribbon so I bought a bunch when I found out they weren't going to be in business anymore.   
  • Sentiment is from Jaded Blossom's G'Day Mate stamp set. 


Thanks for stopping by.

Hope I inspired you with some different medias to use in making your cards.

Happy Crafting!
TTFN,
Debby 


Saturday, March 3, 2018

90th Birthday Card for my Dad

Happy Saturday Crafters,

Today is my dad's 90th birthday and this is the card I made for him.

I saw this sentiment on a stamp set by Craftin Dessert Diva's but I didn't have time to order it to use on my card so I had to craft lift it.   I typed the sentiment  into my Silhouette software and sized it to this tag to print and cut it out.   NOTE: I will be purchasing the stamp set from Crafting Dessert Diva's soon because it is an adorable stamp set.     

The Elephant is from KaDoodle Bug Designs Eggie Buddies-Elephant which I modified by removing the peanuts.   I made a present for the elephant to hold from some scrap paper I had on my craft table from a previous card I made.  I added a ribbon bow to the top of the present.   I cut some balloons from a file in my Silhouette library with different ages working up to the big 90 and used twine for the strings that I wrapped around the elephant's trunk.    I used one of my Copic markers to put lines on his arms and trunk.

The card base is from a shape I had in my Silhouette Design Studio software that I copied and then welded together to make this shape card.  

Here's the final card.


This is a picture of some of the items I cut out to make this card.


Card Recipe:
  • From Silhouette design store:  Stitched Deco Oval Frames - Design #104353
  • KaDoodle Bug Designs Eggie Buddies-Elephant 
    • Modified by removing the peanuts and adding a present.


Thanks for Stopping by.
Happy Crafting!
TTFN,
Debby 


Saturday, February 24, 2018

Party Present Birthday Card

Happy Saturday Crafters,

Today I'm sharing a birthday card I made KaDoodle Bug Designs Shoptastic Cuties - Party Present Cutie file.   I used the the jpg file to print and cut this present out with my Silhouette Cameo.  Accented with Wink of Stella glitter pens and Gelly Roll pens.


Of course I had to put this little cutie on a action wobble.


Card Recipe:
  • A2 Card
  • KaDoodle Bug Designs Shoptastic Cuties - Party Present Cutie file. 
  • Papers from DCWV The Sweet Mat Stack 4.5"x6.5" & Recolections Cheeky Modern Pop 6"x6" paper pad
  • Sentiment from Scrappy Mom Stamps 
  • Circles cut with The Stamps of Life - Sizzix Circle Frames dotted
  • Ribbon from The Stamps of Life
  • Lollipop, candy and gum drop brads from my craft stash.
  • Gem in center of bow from The Stamps of Life
  • Wink of Stella Glitter pens
  • Blue Gelly Roll pen
  • Action wobble
Thanks for stopping by.
Hope you liked my birthday card.

Happy Crafting!
TTFN,
Debby 

Saturday, February 10, 2018

Wheelie Happy Birthday Card

Hello Crafty Friends,

Sorry I've been MIA for several months.  Things have been super crazy busy for me and haven't had much time to craft much less write blog posts.   I'm still crazy busy but I'm going to try and create and post as much as possible. 

Today I want to share with you a cute birthday card I made for a co-worker who just bought a guinea pig and thought the new KaDoodles Bug Design Wheelie Love You file would be perfect for her card.   I think the critter could be a hamster or guinea pig.

I used my Copic markers to give his/her fur a varied look. 


Card Recipe:

  • A2 Card Size
  • KaDoodle Bug Designs Wheelie Love You file
    • Copie Markers used to make his/her fur look multi-colored:  E18-Copper, E15 Dark Suntan
    • White & Brown Gelly Roll pen for accenting various pieces of the image.


  • Sentiment from Jaded Blossom Sweet Birthday Wishes stamp set
  • ekSuccess Sticko Dimensinal Stikers
  • Darice Pink/Orange twine
  • Pattern Paper behind Guinea Pig is from the Silhouette Store and the artist is Sandi Idleman.
I hope I inspired you to use SVG files in other ways then what the holiday or event they were created for. 

Thanks for stopping by.

Happy Crafting!
TTFN,
Debby 

Friday, October 27, 2017

Crow Fall Birthday Card

Happy Friday Crafters,

Today I'm sharing a birthday card I made using the KaDoodle Bug Designs Cutie KaToodles Pumpkin Peeker  Crow.

Used my eBrush to accent the edges of the pumpkin and to accent the leaves.  I used a copic marker to accent the flowers.  


Card Recipe:
  • Card base 5-1/2" x 5-1/2"
  • KaDoodle Bug Designs Cutie KaToodles Pumpkin Peeker Crow.
    • Pumpkin accented with eBrush and an orange sharpie.
    • Leaves accented with eBrush and a green sharpie.
    • Flowers and beak accented with copic marker Y17
  • Pattern paper from the R Memory Keepers Autumn Splendor Designer Scrapbook Pad. 
  • Spellbinders Shapeabilities Wreath
  • Crow, flowers, wreath accented with white Gelly Roll pen
  • The three yellow dots in upper right hand corner of the card is from the Stamps of Life
  • Sentiment from Jaded Blossom Turtley Rad stamp set.
Thanks for stopping by.

Happy Crafting!
TTFN,
Debby