Hello Crafty Friends,
I'm blessed to be a guest designer for Die Cuttin' Divas.
This week on their blog is a Tic-Tac-Toe Challenge.
Pick three boxes from any row or diagonal from the Grid below and create a project that has those three items.

I went a little crazy on my card and was tried to incorporate almost everything on this Tic-Tac-Toe Grid. Didn't quite make it because i chose to use a birthday sentiment instead of a "Thinking of You" sentiment.
Here's a picture of some of the items I used to create this card.

I used my MISTI to have the sentiment match the curve of the top of the oval die cut.

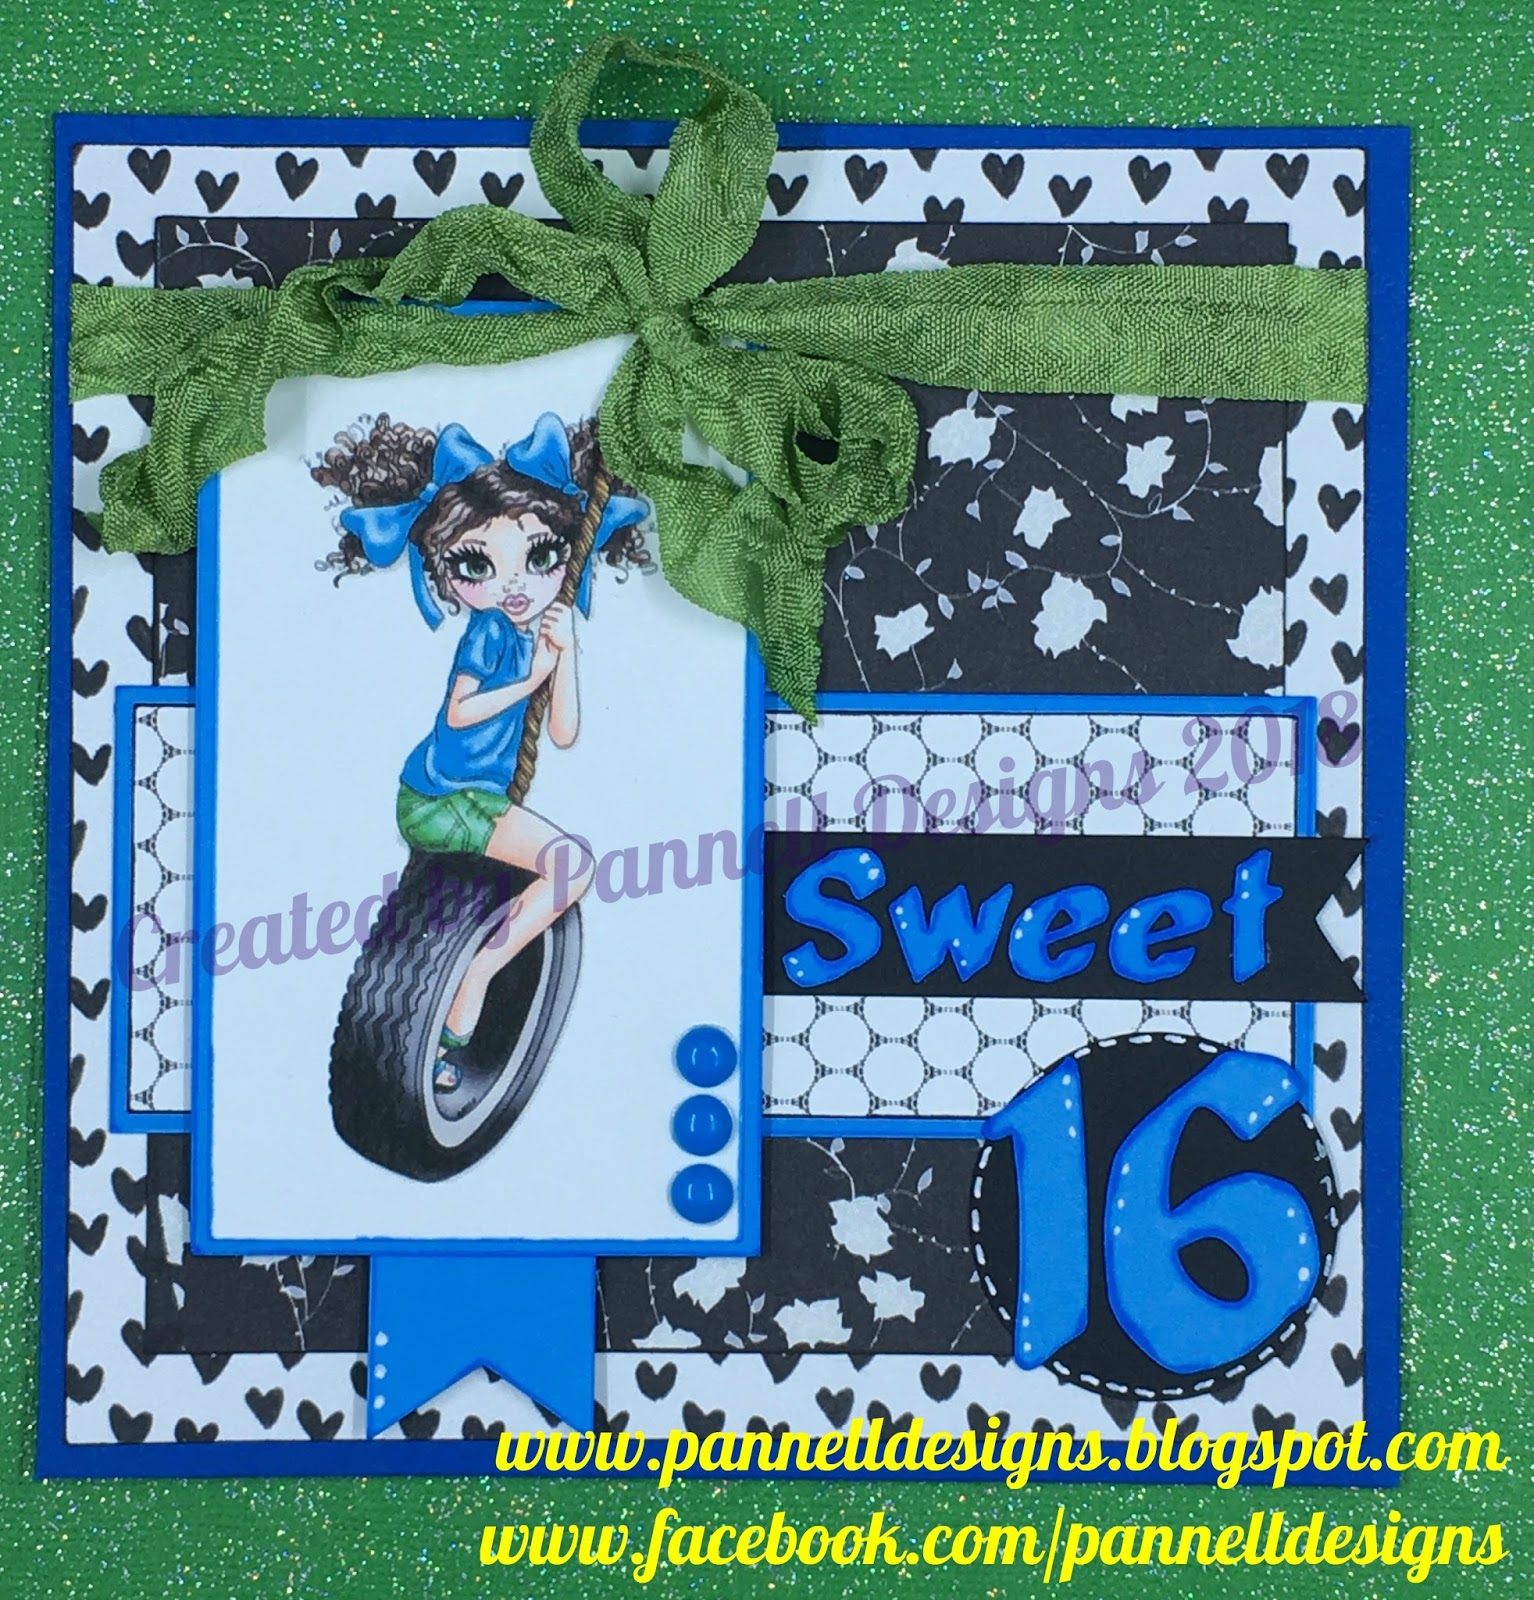
Here is my final card.
It has leaves (I'm creatively cheating and calling the seaweed "leaves" :)), Sequins, Yellow in the pattern paper and twine, Orange in the twine and seaweed, Enamel Dots near the sentiment, Pattern Paper, Twine, Oval and it's a Shaker Card.

The oval had a dotted border so I decided to stitch around it with Twine. This took some time but it gave the card an interesting detail that I normally wouldn't have done. So thanks to this challenge I pushed myself to do something different creatively.
Here's some close up shots.


- Card base 5-1/2"x5-1/2"
- KaDoodle Bug Designs Cutie KaToodles Ocean Pearl
- I used the png file to print and cut this cutie and accented it with gel pens and Wink of Stella Glitter Pen
- The sand with coral and seaweed were cut using a metal die from the Craftin Dessert Divas Oean Border Dies set out of white paper and colored with my Copic Markers. YG25 Celadon Green and G94 Grayish Olive for the seaweed, YR04 Crome Orange for the coral; E11 Barely Beige and E33 Sand for the sand, and C1 Cool Gray around the pearl to make it stand out a little more against the oyster background color.
- The oval of the shaker card was made with The Stamps of Life - Sizzix Oval Framelits-Dotted #661840
- Pink/Orange Twine and Yellow/Orange Twine is from Darice
- Round sequins used as bubbles in twine and inside shaker card are from my stash that I bought awhile ago at one of the Scrapbook Expos I attended.
- The Dolphin Sequins (Splish Splash Sequins) and small Star Sequins (Starstruck Sequins) are from Die Cutting Divas
- Sentiment is from Jaded Blossom Mermaid Kisses stamp set
- Enamel Dots are from a Card Kit that I get monthly from The Stamps of Life
I hope I was able to provide some inspiration to challenge yourself creatively and gave you some ideas on what you can do on your future projects.
Here's the picture again of Tic-Tac-Toe grid for the
Die Cuttin' Diva's #381 Tic-Tac-Toe challenge this week.

Use any one of the rows --- up, down or diagonally -- to create a project and link it over at the Die Cuttin' Diva's Blog by clicking HERE,
Really hope you join us in this fun challenge.
Happy Crafting!
TTFN,
Debby